Kokedama Kit Video Instructions
Video Tutorial
Instructions

Preparing the Soil and Plant:
1. Prepare Soil Mixture by mixing the potting soil and water gradually until the mixture is moist but not soggy. The mixture should be able to form a ball without falling apart.
2. Before removing the plant from the container, water the plant to wet the soil.
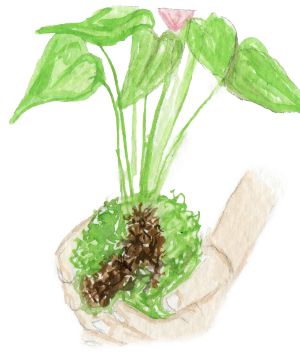
3. Gently remove the plant from its pot

Forming the Kokedama:
4. Create soil ball by shaping the moist soil mixture around the plant’s base. There is no need to remove the soil that the plant came with, you can build the ball on top of the existing soil. As you add the moist soil mixture, start creating the base into a solid ball, ensuring it's large enough to accommodate the plant's roots around and underneath the ball.
5. Squeeze excess water out of the plant ball.
6. Dampen the moss in a bowl of lukewarm water. Place the moss in a circle on a cookie sheet. The circle should be large enough to encompass most of the plant ball when the moss is folded onto the ball.
7. Place the plant in the middle of the moss ball and using your hands bring the moss up around the plant ball and squeeze the moss onto the ball. It won’t stick fully but we will cover all holes later.
8. Position the ball in your left hand and add moss to the open areas as you rotate the ball 365 degrees.
9. Review the entire ball to make sure there are no spots where you can see the soil. For any holes, place a piece of moss to cover the hole.

Wrapping the Kokedama:
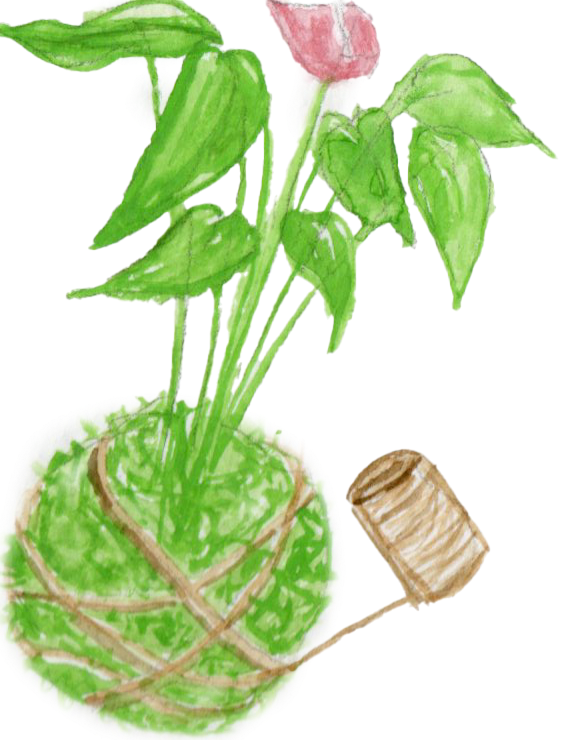
10. Wrap the twine / string tightly around the moss to hold everything in place. Hold / anchor 6 inches of string over the top of the ball with your left index finger to create a ‘tail’ to tie the string on when you finish. While taking the rest of the string, bring it over top of the ball (12 o’ clock) and bring down to front of the ball to 6 o’ clock. Pull the string tight and proceed to bring the string back up the back of the ball while rotating the ball 45 degrees. Pull tight and repeat the 12-6 and rotate process until you have 4” left of string.
11. Find the original 6 inch piece of string (the ‘tail) and tie a knot to secure the string around the kokedama ball.

Finishing the Kokedama:
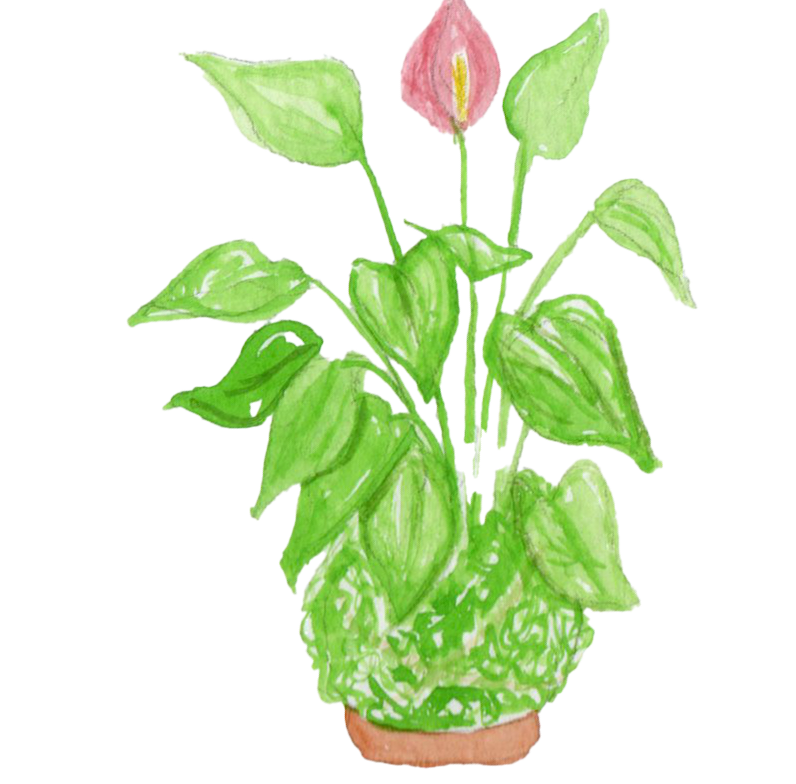
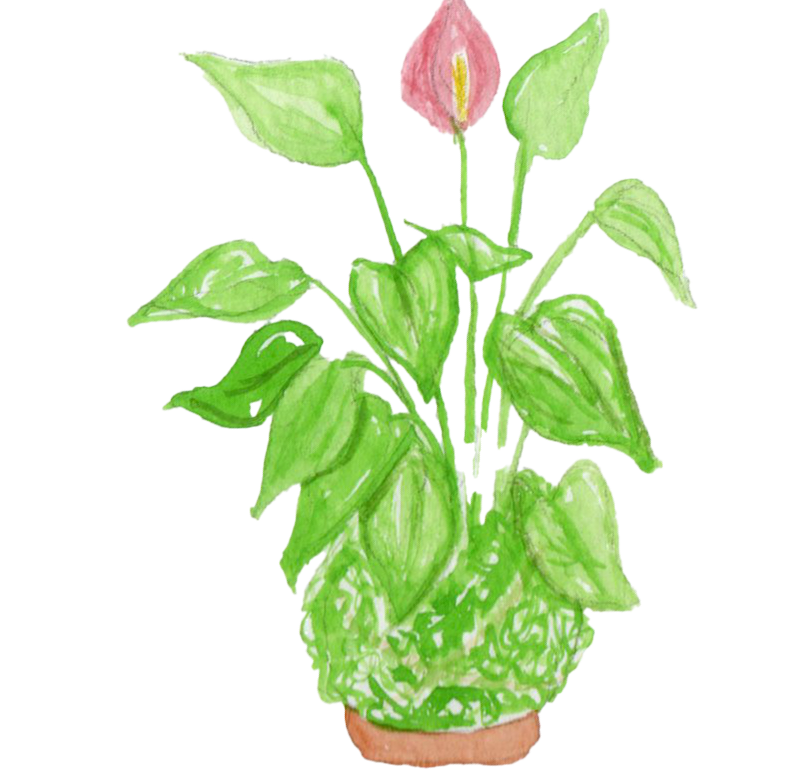
12. Once the kokedama is made, put the bottom of the ball on the table to create a flat edge for it to sit on.
13. If there are any strands of moss coming off the ball, feel free to groom to desired look.
Watering Instructions:
About once a week or whenever the ball feels dry and light, put the ball into a bowl of water about ½ up the ball and let it sit and absorb the water for 10-15 minutes. Remove the ball, squeeze out the excess water and place the ball on the saucer.
